







Education
5 Reasons Chipping Happens When Cutting Stone
Jul
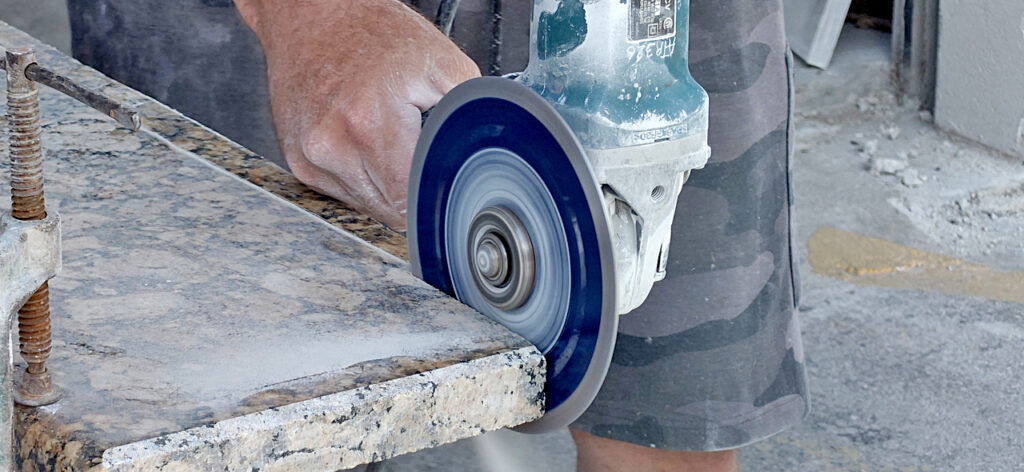
Chipping can slow down production, create extra polishing work, and put more pressure on the shop team. When a cut chips, the problem is not always the stone itself. It can come from the blade, the machine setup, the operator’s feed rate, water flow, or the condition of the material.
Here are five common reasons granite chips during cutting and what fabricators should check first.
1. Blade Selection
The wrong blade is one of the most common causes of chipping. Stone fabrication needs a diamond bridge saw blade that can balance speed, stability, and edge quality. If the bond, segment design, or blade type is not right for the material, the blade may vibrate, push too hard, or tear at the edge instead of cutting cleanly.
What to check: Make sure the blade is built for the material and the machine being used. Nikon’s bridge saw blade category includes options for granite, quartzite, quartz, engineered stone, marble, porcelain, Dekton, and ultracompact materials. Stinger BLACK™ V2 is positioned as a strong bridge saw blade option for granite and other demanding stone materials.
2. Feed Rate
Feed rate affects how cleanly the blade moves through the stone. If the operator feeds too fast, the blade may not have enough time to cut smoothly, which can lead to edge chipping or vibration. If the feed rate is too slow, heat and friction can build up, and performance may become less consistent.
What to check: Keep the feed rate steady and adjust based on the stone, blade, saw horsepower, and cut type. A controlled cut is usually better than forcing the blade through the slab.
3. Water Flow
Water helps cool the blade, clear slurry, and reduce friction during cutting. Poor water flow can make the blade run hotter and less efficiently, which may increase the chance of chipping or rough edges. Uneven water distribution can also affect one side of the cut more than the other.
What to check: Confirm the water is reaching both sides of the blade and flowing consistently through the cut. Check nozzles, pressure, and buildup before blaming the blade.
4. Material Quality
Every slab is different. Some slabs have fissures, weak spots, resin-filled areas, or harder mineral sections that can chip more easily. Even with the right blade and setup, material variation can affect the final cut.
What to check: Inspect the slab before cutting, especially around visible fissures or fragile areas. Slow down slightly on risky sections and support the material properly when needed.
5. Blade Wear
A worn blade can lose cutting efficiency and leave a rougher edge. As the diamonds wear down or the blade becomes glazed, the saw may need more pressure to keep cutting. That extra pressure can create heat, vibration, and chipping.
What to check: Watch for slower cutting, burning, vibration, more noise, or rougher edges. If cut quality drops even after adjusting feed rate and water, the blade may need dressing or replacement.
Quick Troubleshooting Checklist
Problem Seen
First Thing to Check
Chipping along the cut line
Blade selection, feed rate, and slab condition
Cut feels forced or slow
Blade wear, feed rate, and machine power
Blade seems hot or cut looks rough
Water flow and slurry clearing
Chipping only in certain slab areas
Material quality, fissures, or weak spots
Quality gets worse over time
Blade wear or glazing
Final Takeaway
Stone slab chipping is usually a sign that something in the cutting process needs attention. Start with the five basics: blade selection, feed rate, water flow, material quality, and blade wear. Checking these areas can help shops reduce rework, protect the material, and keep production moving more smoothly.
For shops cutting stone slabs regularly, the right bridge saw blade makes a real difference. Explore Nikon bridge saw blades, including Stinger BLACK™ V2, or contact Nikon for help choosing the best option for your material and machine.